%%writefile {_tuner_module_file}

# Define imports
from kerastuner.engine import base_tuner
import kerastuner as kt
from tensorflow import keras
from typing import NamedTuple, Dict, Text, Any, List
from tfx.components.trainer.fn_args_utils import FnArgs, DataAccessor
import tensorflow as tf
import tensorflow_transform as tft

# Declare namedtuple field names
TunerFnResult = NamedTuple('TunerFnResult', [('tuner', base_tuner.BaseTuner),
                                             ('fit_kwargs', Dict[Text, Any])])

# Label key
LABEL_KEY = 'label_xf'

# Callback for the search strategy
stop_early = tf.keras.callbacks.EarlyStopping(monitor='val_loss', patience=5)


def _gzip_reader_fn(filenames):
  '''Load compressed dataset

  Args:
    filenames - filenames of TFRecords to load

  Returns:
    TFRecordDataset loaded from the filenames
  '''

  # Load the dataset. Specify the compression type since it is saved as `.gz`
  return tf.data.TFRecordDataset(filenames, compression_type='GZIP')


def _input_fn(file_pattern,
              tf_transform_output,
              num_epochs=None,
              batch_size=32) -> tf.data.Dataset:
  '''Create batches of features and labels from TF Records

  Args:
    file_pattern - List of files or patterns of file paths containing Example records.
    tf_transform_output - transform output graph
    num_epochs - Integer specifying the number of times to read through the dataset.
            If None, cycles through the dataset forever.
    batch_size - An int representing the number of records to combine in a single batch.

  Returns:
    A dataset of dict elements, (or a tuple of dict elements and label).
    Each dict maps feature keys to Tensor or SparseTensor objects.
  '''

  # Get feature specification based on transform output
  transformed_feature_spec = (
      tf_transform_output.transformed_feature_spec().copy())

  # Create batches of features and labels
  dataset = tf.data.experimental.make_batched_features_dataset(
      file_pattern=file_pattern,
      batch_size=batch_size,
      features=transformed_feature_spec,
      reader=_gzip_reader_fn,
      num_epochs=num_epochs,
      label_key=LABEL_KEY)

  return dataset


def model_builder(hp):
  '''
  Builds the model and sets up the hyperparameters to tune.

  Args:
    hp - Keras tuner object

  Returns:
    model with hyperparameters to tune
  '''

  # Initialize the Sequential API and start stacking the layers
  model = keras.Sequential()
  model.add(keras.layers.Flatten(input_shape=(28, 28, 1)))

  # Tune the number of units in the first Dense layer
  # Choose an optimal value between 32-512
  hp_units = hp.Int('units', min_value=32, max_value=512, step=32)
  model.add(keras.layers.Dense(units=hp_units, activation='relu', name='dense_1'))

  # Add next layers
  model.add(keras.layers.Dropout(0.2))
  model.add(keras.layers.Dense(10, activation='softmax'))

  # Tune the learning rate for the optimizer
  # Choose an optimal value from 0.01, 0.001, or 0.0001
  hp_learning_rate = hp.Choice('learning_rate', values=[1e-2, 1e-3, 1e-4])

  model.compile(optimizer=keras.optimizers.Adam(learning_rate=hp_learning_rate),
                loss=keras.losses.SparseCategoricalCrossentropy(),
                metrics=['accuracy'])

  return model

def tuner_fn(fn_args: FnArgs) -> TunerFnResult:
  """Build the tuner using the KerasTuner API.
  Args:
    fn_args: Holds args as name/value pairs.

      - working_dir: working dir for tuning.
      - train_files: List of file paths containing training tf.Example data.
      - eval_files: List of file paths containing eval tf.Example data.
      - train_steps: number of train steps.
      - eval_steps: number of eval steps.
      - schema_path: optional schema of the input data.
      - transform_graph_path: optional transform graph produced by TFT.

  Returns:
    A namedtuple contains the following:
      - tuner: A BaseTuner that will be used for tuning.
      - fit_kwargs: Args to pass to tuner's run_trial function for fitting the
                    model , e.g., the training and validation dataset. Required
                    args depend on the above tuner's implementation.
  """

  # Define tuner search strategy
  tuner = kt.Hyperband(model_builder,
                     objective='val_accuracy',
                     max_epochs=10,
                     factor=3,
                     directory=fn_args.working_dir,
                     project_name='kt_hyperband')

  # Load transform output
  tf_transform_output = tft.TFTransformOutput(fn_args.transform_graph_path)

  # Use _input_fn() to extract input features and labels from the train and val set
  train_set = _input_fn(fn_args.train_files[0], tf_transform_output)
  val_set = _input_fn(fn_args.eval_files[0], tf_transform_output)


  return TunerFnResult(
      tuner=tuner,
      fit_kwargs={
          "callbacks":[stop_early],
          'x': train_set,
          'validation_data': val_set,
          'steps_per_epoch': fn_args.train_steps,
          'validation_steps': fn_args.eval_steps
      }
  )
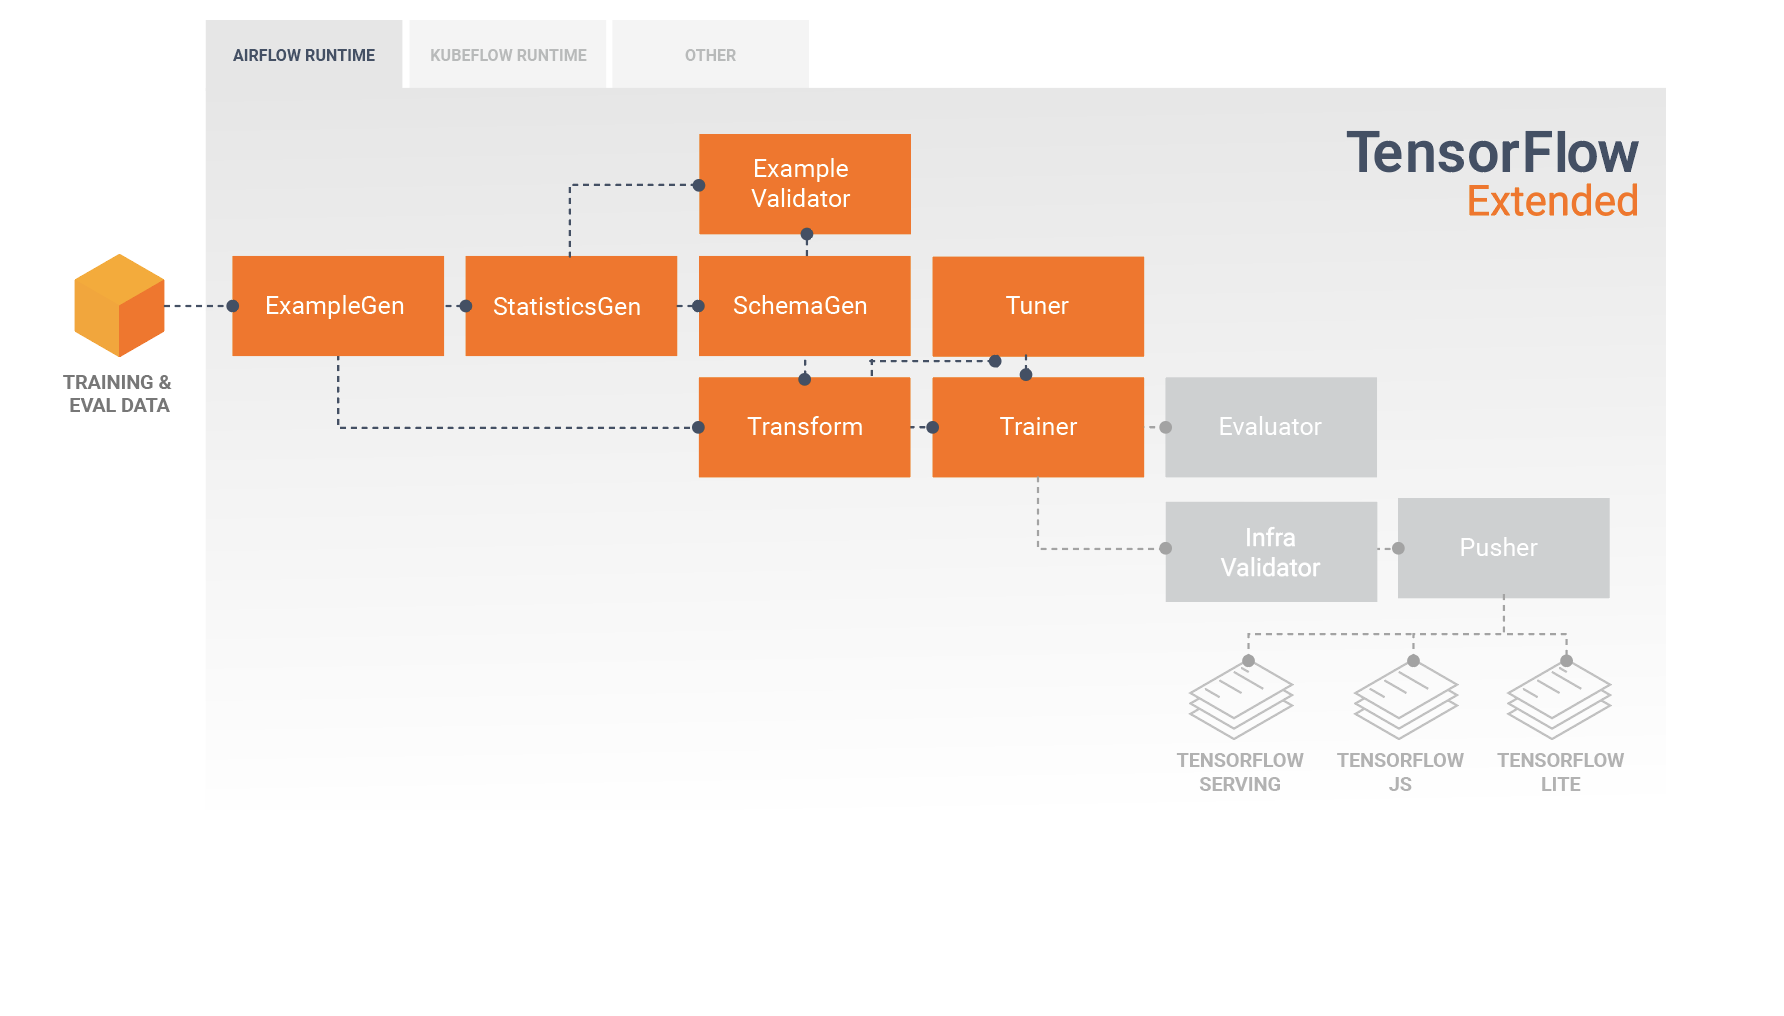
 image source: https://www.tensorflow.org/tfx/guide